My Blog
2019 Wedding Day Recap
So as mentioned before I’m just not the best at blogging but I’m great at journaling. Haha, go figure.
I’m going to take the next few weeks and recap on a few of my weddings from 2019 as there were SO many wonderful brides and grooms to be boasted about! Along with their awesome wedding party, family, vendor team, and pups!
Marson's - Magnolia Pines Southern Estates - Chickamauga, GA
Wedding Date 11/16/2019
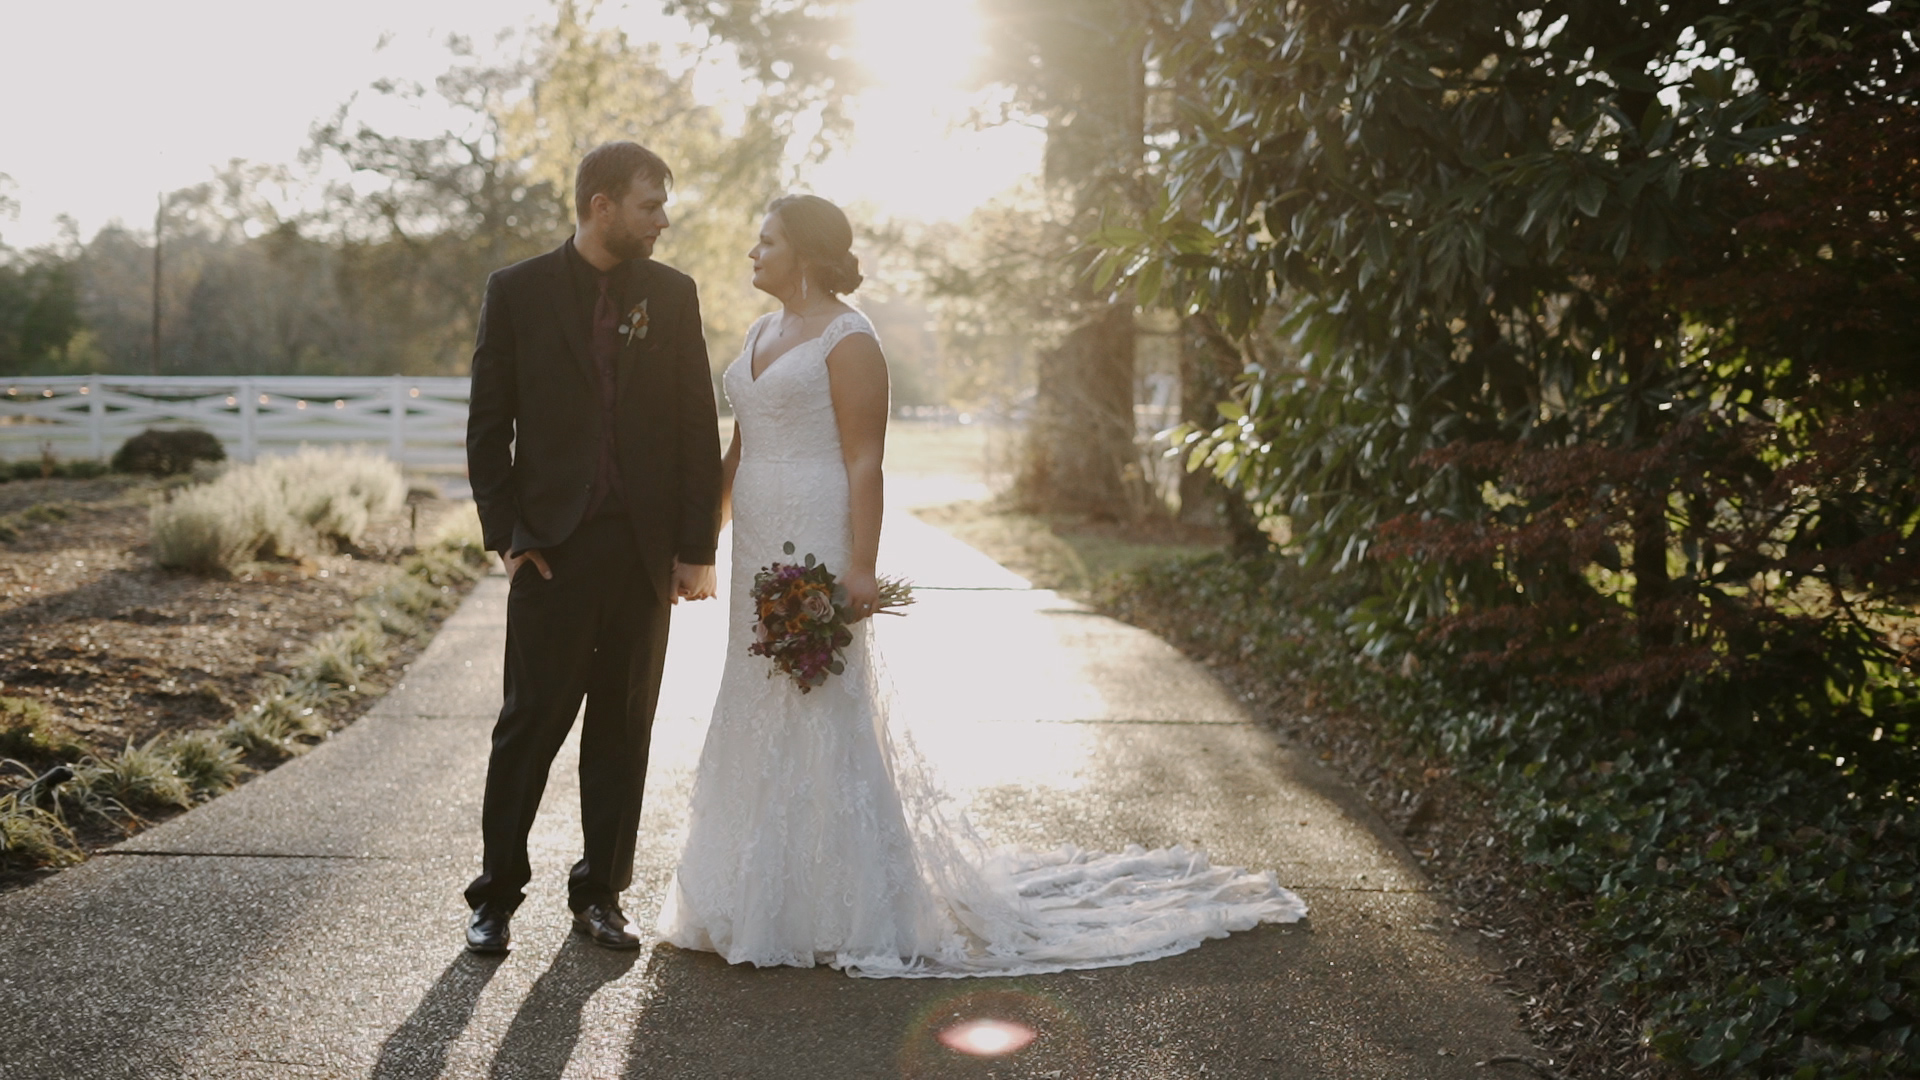
Jeremy and I were shooting together today at Magnolia Pines Southern Estates in Chickamauga, GA .
Upon arriving we sought out Catherine and her bridesmaids that were getting ready in the mansion. Hair was done. Makeup was going through the finishing up touches, and everyone just looked adorable in their robes.
I was able to take a moment and meet the wonderful photography team, Imago Photography. Tim and his wife were so great throughout the day. Just taking a moment to comment on how nice it is to have a photography team that gives thought to my process is always a nice surprise. They were kind and personable and did a fantastic job guiding the bride, groom, and wedding party into posing and locations. Then pausing to give me a moment to get the video shots that I required – even trading to allow me to get clips from “the best” spots and angles. It just made it overall an easy and wonderful day.
So as Catherine was preparing to get in her dress and do her first look with her dad and bridesmaids. I paid the groomsmen a visit. They were relaxing in the groom’s quarters eating and chilling with all the guys. The groom’s brother Michael was very interested in my drone and commented that he had a drone too and that we should fly them together if we had time. We, unfortunately, didn’t have time, but that would have been fun – haha.
Jeremy was outside capturing the moment that Steven opened up Catherine’s “special” gift for him. Taken by the wonderful Life with a View Photography. While I was inside with Catherine.
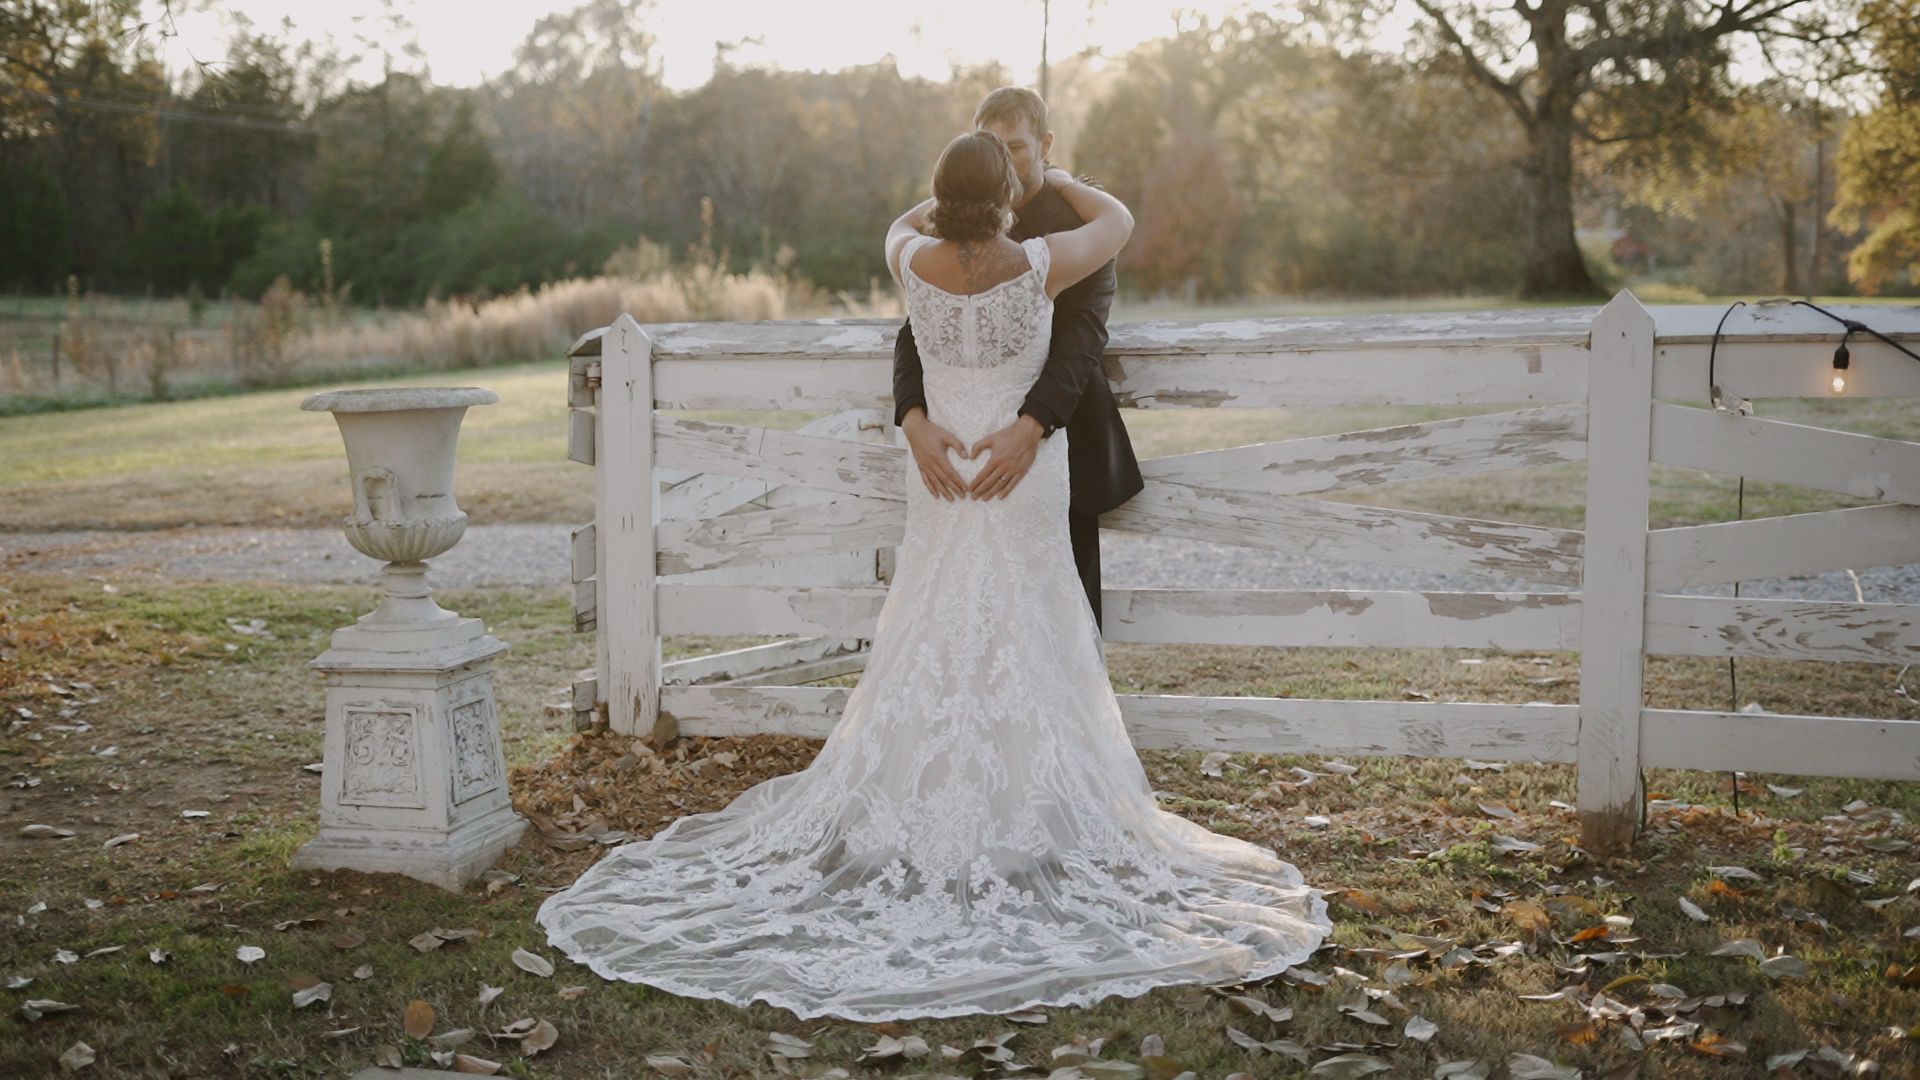
Now we are all set up for their first look and it was ABSOLUTELY the most precious moment! Steven was so taken back by the beauty that was radiating off Catherine. It was truly a beautiful moment!
The rest of the wedding day went very smooth. Everyone had their pictures taken, I got some amazing drone shots of the property. Jeremy got all the cameras set up for the ceremony – which was SO helpful!
The ceremony was sweet and their vows were the most adorable vows I’ve heard in so long!
The reception was equally amazing. The DJ’s were fun and had a bridal party sing and dance off to “Don’t stop believing” by Journey. Everyone else dances and had a great time through the night.
My time there ended before the sparkler send off was set to take place so I was sad to miss that perfect finishing piece, BUT Tim with Imago had my back. He was able to get some footage from his camera of their sparkler exit and send it to me for their final edit!
The coolest, most awesome thing a photographer has EVER done!
Enjoy the final product for their wedding below and this GORGEOUS picture I pulled from a video frame.
Ledbetter's - Tennessee Riverplace - Chattanooga, TN
Wedding Date 11/02/2019
This was the first time that I had been to this beautiful venue, and WOW. It was the perfect season to visit. Driving to the Tennessee Riverplace was a gorgeous drive. The trees were in peak color and the long driveway really highlighted the beautiful countryside of Chattanooga
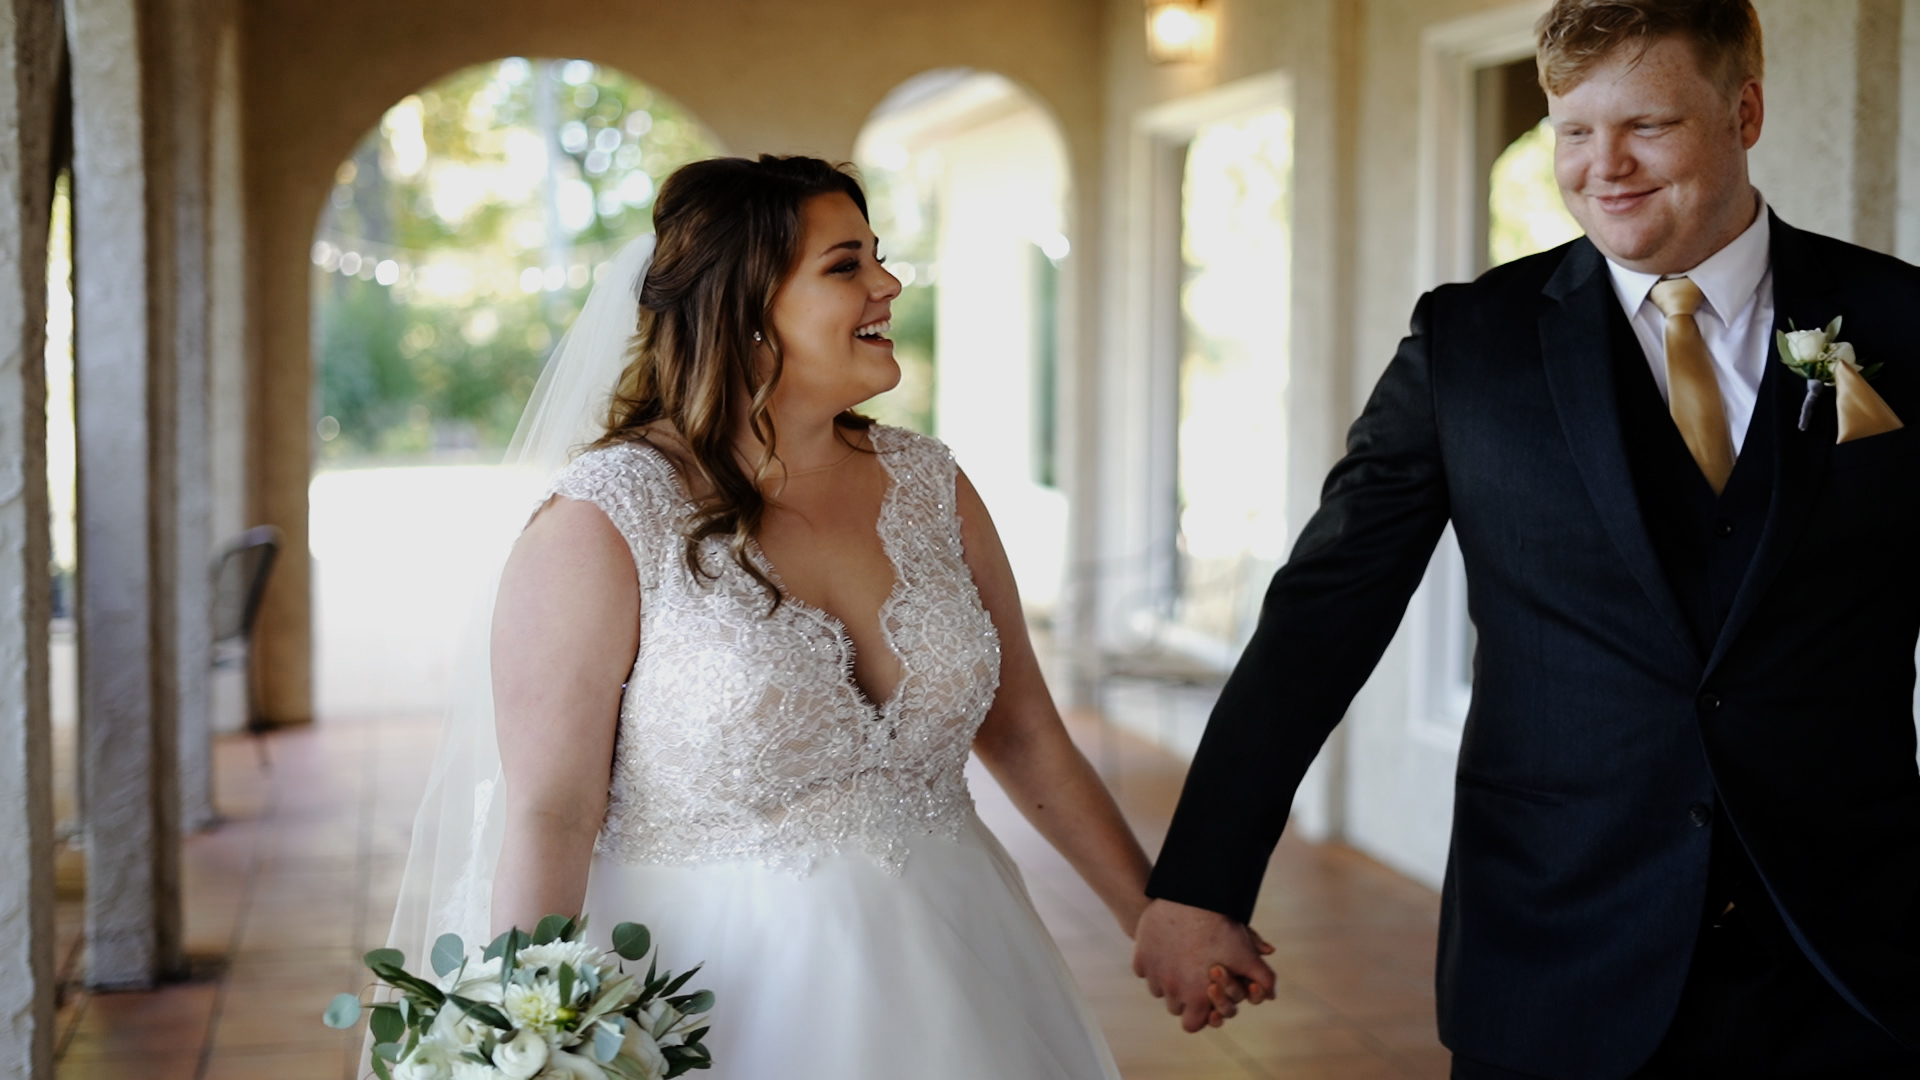
Upon arrival, to this amazing Spanish style villa, the archways, construction, and beautiful Tennesee River behind the house were just breathtaking. On top of all this, it was a perfect 62 degrees out. With all this combine – plus a beautiful bride and handsome groom – I just knew it was going to be a great day!
Kristina and her bridesmaid were laughing singing and having such a great time the whole time I was around them. They were a wonderful cheer squad to keep her laughing and having fun through every minute of the whole day.
I just loved how they were so happy and loving together. It was just contagious how their smiles and laughter just radiated. It makes me so happy to see a group of girls that are so close and so uplifting to one another. It really makes a big BIG difference on a wedding day.
Speaking of which, Kristina, in general, had such a great spirit of bliss and happiness about her. It just made me smile so much seeing how radiant of a bride she was!
She even did all her own makeup! Talk about professionalism it was better than I’ve seen some of the professionals do!
So a fun story about the groom and groomsmen.
I hadn’t met the groom ahead of time due to my in-person meeting was just with Kristina so I didn’t know what he looked like.
I walked into the groom’s area to start getting footage of them.
I walked in and was like “So which one of you is the lucky groom” and one of the GROOMSMEN raised their hand and said it was him. So I walk over to introduce myself and start talking away about getting this and that, and blah blah blah.
I was ABOUT to take him out and start getting groom footage when behind me the REAL Andrew popped up and said he was the groom and me along with everyone else started BUSTING out laughing! Gosh, they got me so good! Definitely will always be Facebook stalking the grooms I don’t get to meet at the in-person meeting.
It was time for their first look, and I must say this was by far the CUTEST first look. They were so excited to see each other, Andrew was closing his eyes so tight as Kristina was approaching. They stood behind each other as they read notes they had prepared.
Then as they were getting ready Kristina went up and got a big handful butt-grab to signal him to turn around. IT WAS SO CUTE! They were so happy to see each other, Kristina was spinning and twirling to show off her beautiful dress. Then they enjoyed a few moments in each other’s arms. She would look up at him with such joy and happiness in her eyes. Definitely some of my favorite moments to witness on a wedding day.
As the day went on I was able to get acquainted with the photographer of the day Jen with Jen Anderson Photography She was remarkable and so very talented. All the pictures I have seen from this wedding day have been absolutely breath-taking. She was wonderful to work with was very sweet, kind, and thorough with the bride and groom and very knowledgeable about flattering and beautiful posing techniques.
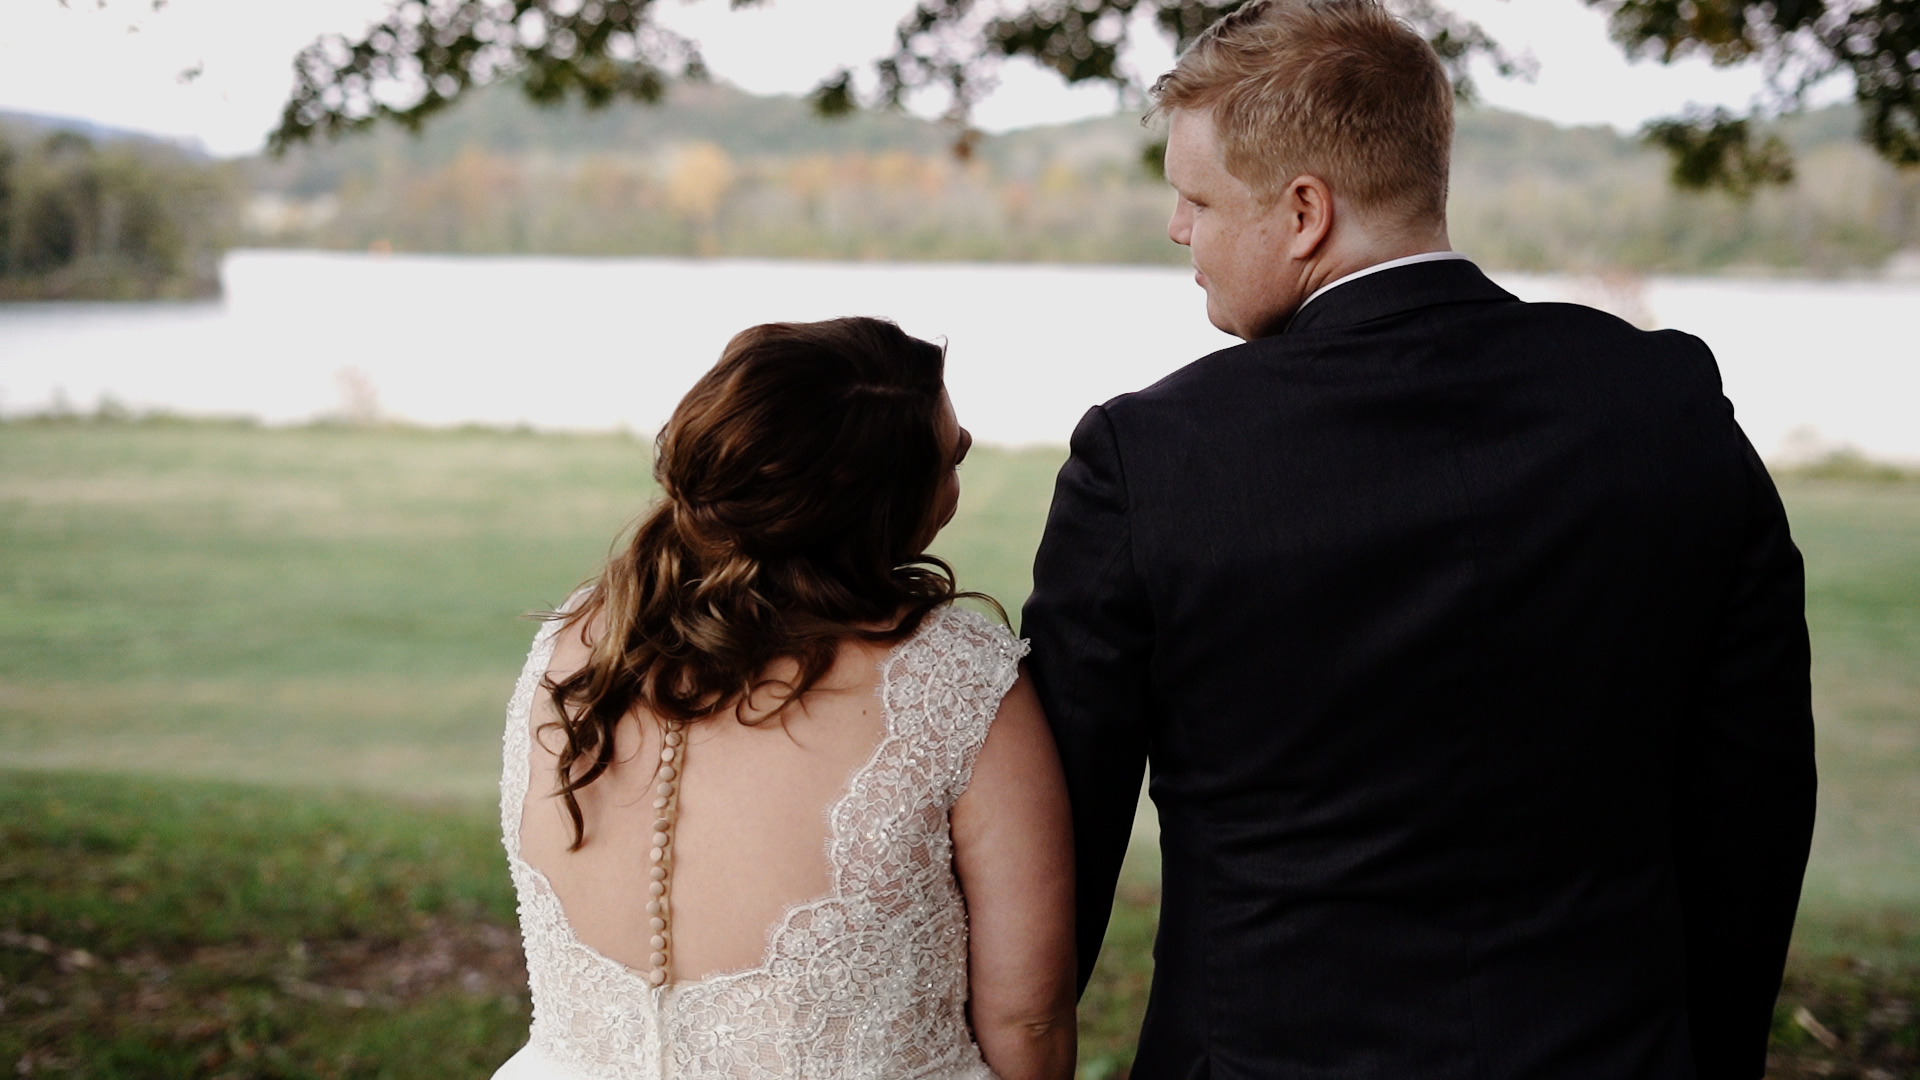
The ceremony was smooth and sweet. Their vows to each other were just so adorable and heartfelt. Afterward wrapping up the pictures and video clips the sunset was beautiful and really highlighted the beauty of the river in the background.
The reception was equally as amazing! The food from CJ’s BBQ was 100% delicious in every way. they had a variety of foods available, not just BBQ. Then DJ Addee kept the dance floor in full hype mode. Kristina and her bridesmaid Sara were dancing to their favorite song with such happiness and joy. It was great to watch two friends so close share a moment of such pure happiness.
Two more moments that were my favorite during the reception were the cake cutting and garter toss.
Honestly, nowadays it rare for couples to smash cake in the face of each other. It’s understandable no girl wants to get her makeup – that took forever and probably cost a pretty penny – ruined by cake, but it’s always a fun moment to capture on video when it does happen. Well, let me tell you Andrew and Kristina didn’t hold back in the slightest. They SMASHED the cake in each other’s faces and were laughing and having a great time while doing so.
Kristina really tricked Andrew with the garter toss – you will just have to watch the video to find out. I simply cannot put how funny and how shocked his face was during it!
Enjoy the film below and a few gorgeous screen captures I was able to get from this perfect day!
Oreo Balls - PERFECT Recipe
For those that have known me for a bit, know that when in a pinch to bring a homemade recipe to some kind of event I opt for oreo balls. In reality, I’m volunteered by someone else to bring these to said event. There are tons of recipes out there for these, but this post will explain my process, how they are relatively easy to make, and why my oreo balls are the best!
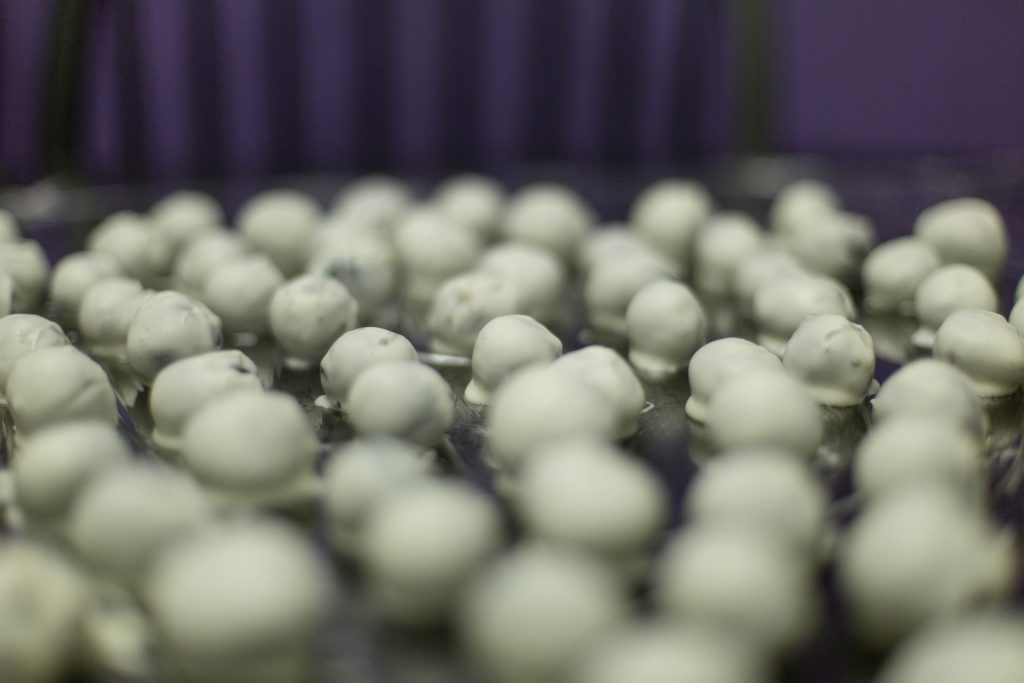
The Goal
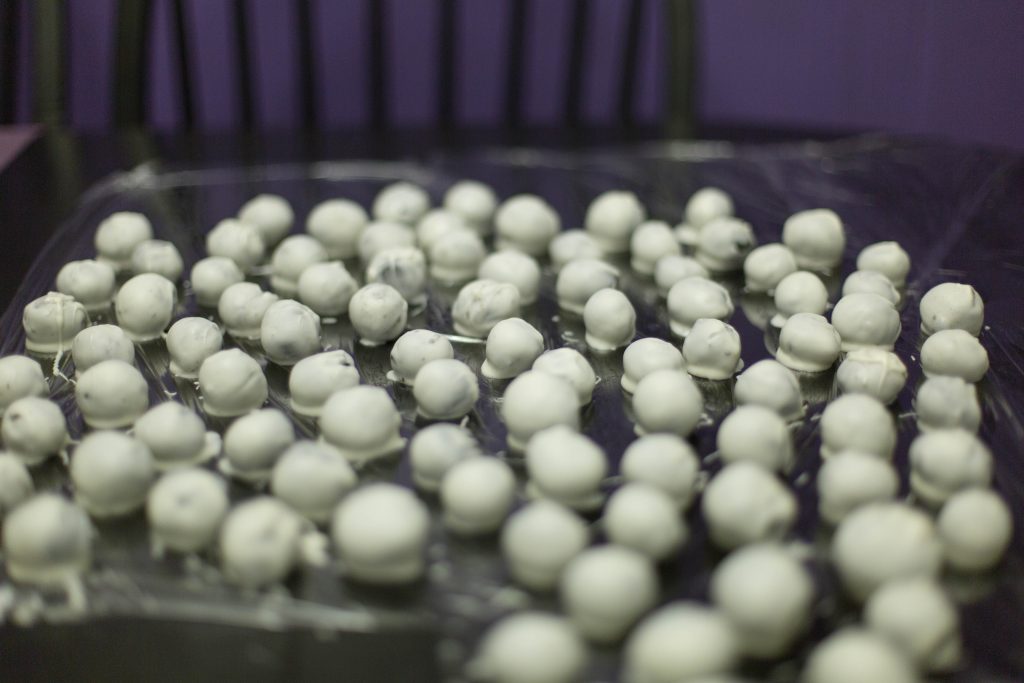
What you see above are both delicious and pretty cheap to make. However, they are a bit time-consuming. The picture above shows a double batch which made 90 oreo balls this time. A double batch can make anywhere between 70-100 depending on the size that you roll.
They tend to run less than $13 for a double batch which includes: (prices may vary) Oreo’s $2.98 x 2, Great Value Cream Cheese 8oz 2 pack $2.87, Great Value Almond Bark, Vanilla 24oz $2.98 = $11.81 then add some tax.
It takes about two hours to make if you are making them alone, someone to help roll the dough into balls will save you SO MUCH TIME!
STEP 1: The Grind
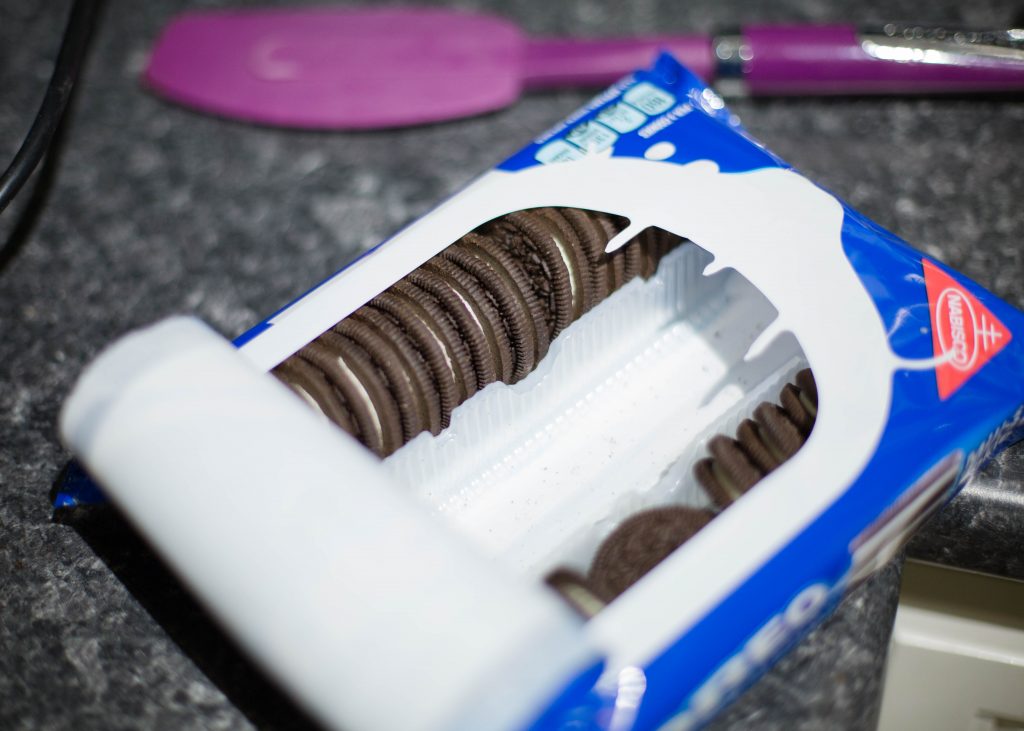
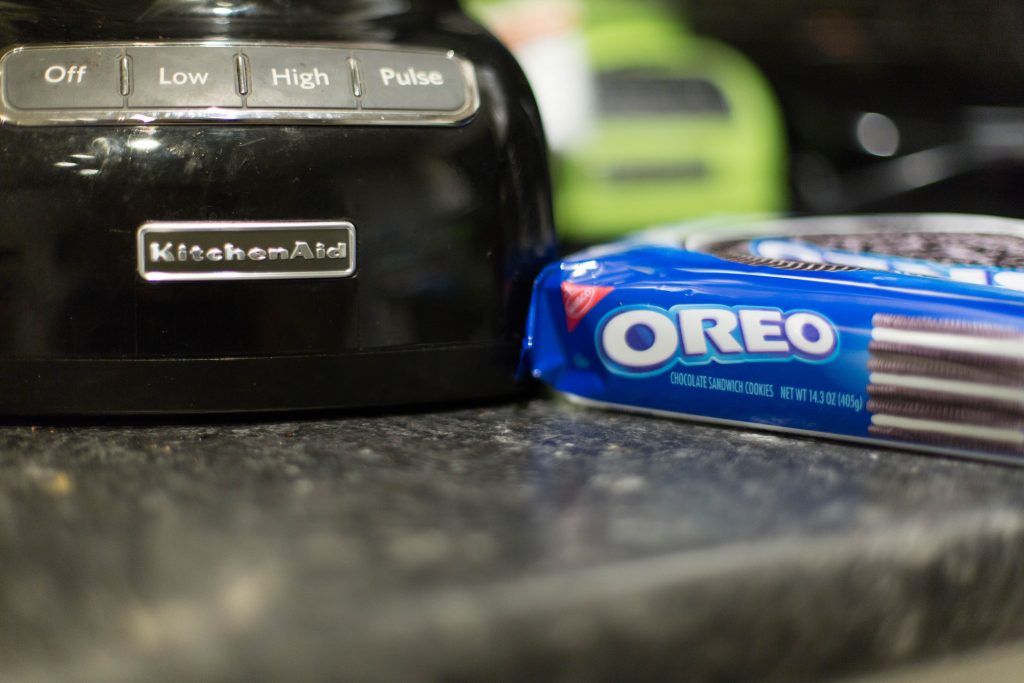
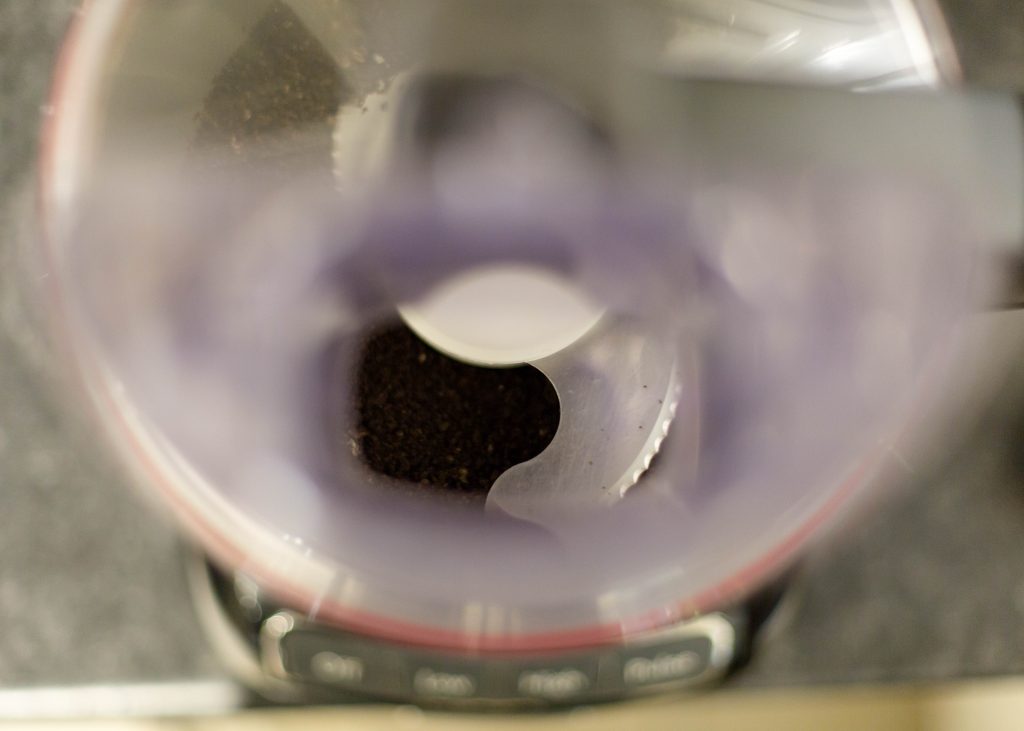
- I use a 9 cup KitchenAid food processor to grind up the Oreos as fine as possible. I will empty one row at a time then once they are fully and finely ground I will dump into my stainless steel bowl. I grind up all the Oreos in a pack and do one batch at a time for this step.
- Once all the Oreos have been ground I add my SOFTENED cream cheese. I highly recommend to put in the microwave for 30 seconds if it just came out of the refrigerator, or if you remember, you can also set it out a couple hours in advance to let it naturally soften. I always put it in the microwave because I either never remember to set it out ahead of time or I just bought the ingredients and it’s still cold from being at the store.
STEP 2. The Mix
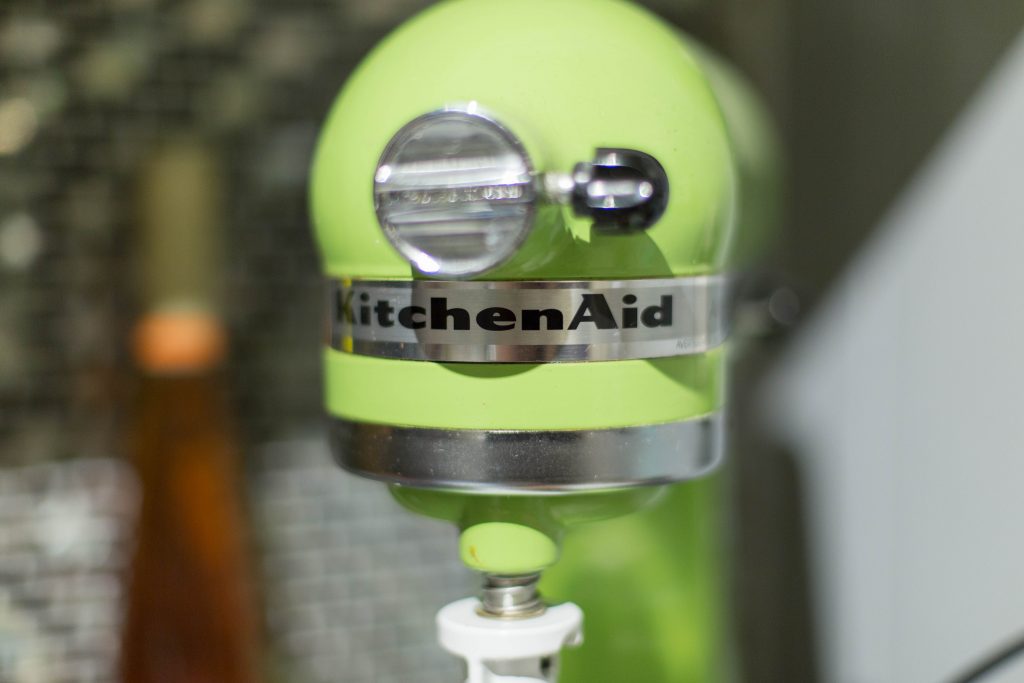
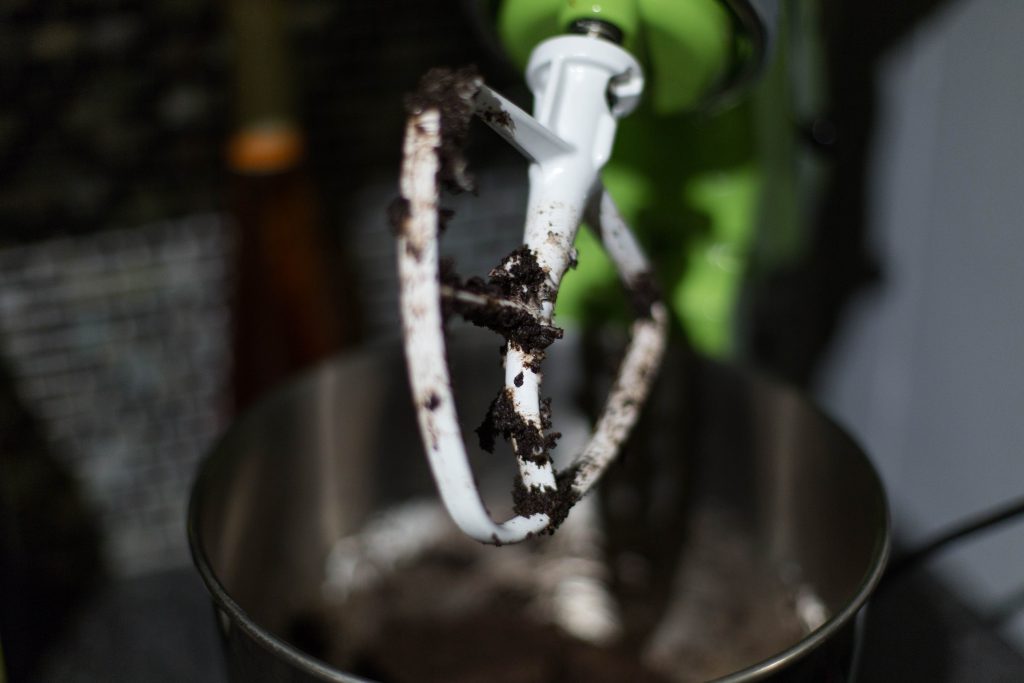
- I add the oreo powder and cream cheese together in my stainless steel mixer bowl, attach my flat beater paddle, and run my mixer on the lowest speed(2) for normally less than a minute. It should quickly combine the two ingredients and made a doughy ball.
- The mixer pictured above is a KitchenAid Artisan Green Apple mixer(KSM150PSGA)
- Once the first batch has been mixed into the oreo dough ball place in a separate container and repeat the exact steps with your 2nd batch.
- After your second batch is complete mix the two oreo dough balls together to make one giant ball.
- (unfortunately, I forgot to get a picture of this)
- OPTIONAL: you can refrigerate your dough ball for 10+ minutes. That makes the individual balls a little easier to form and keep form.
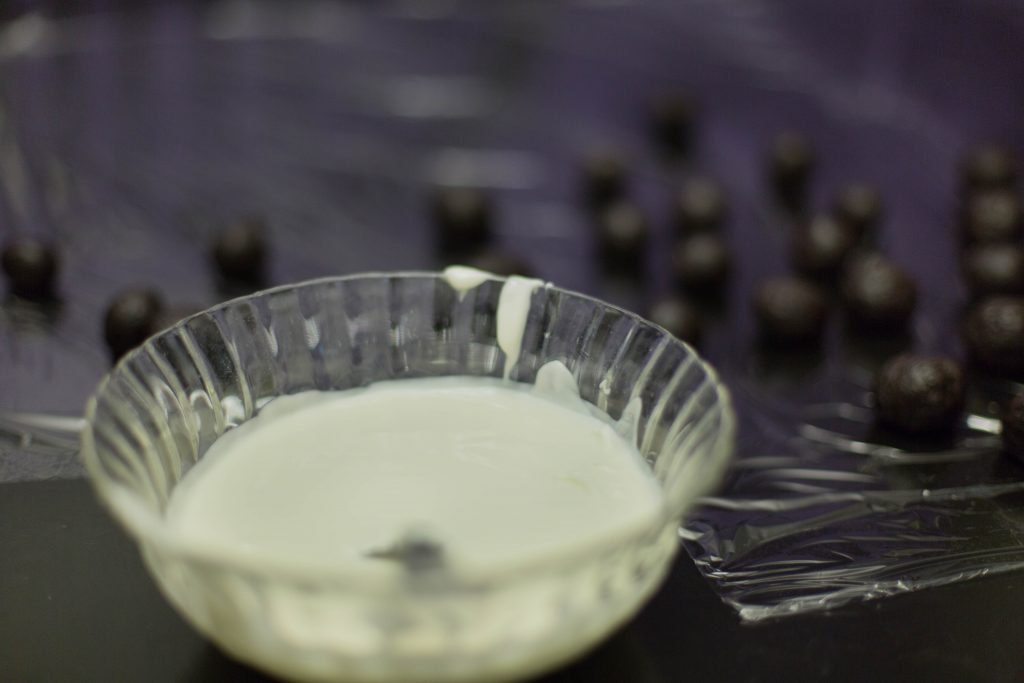
STEP 3. The Melt
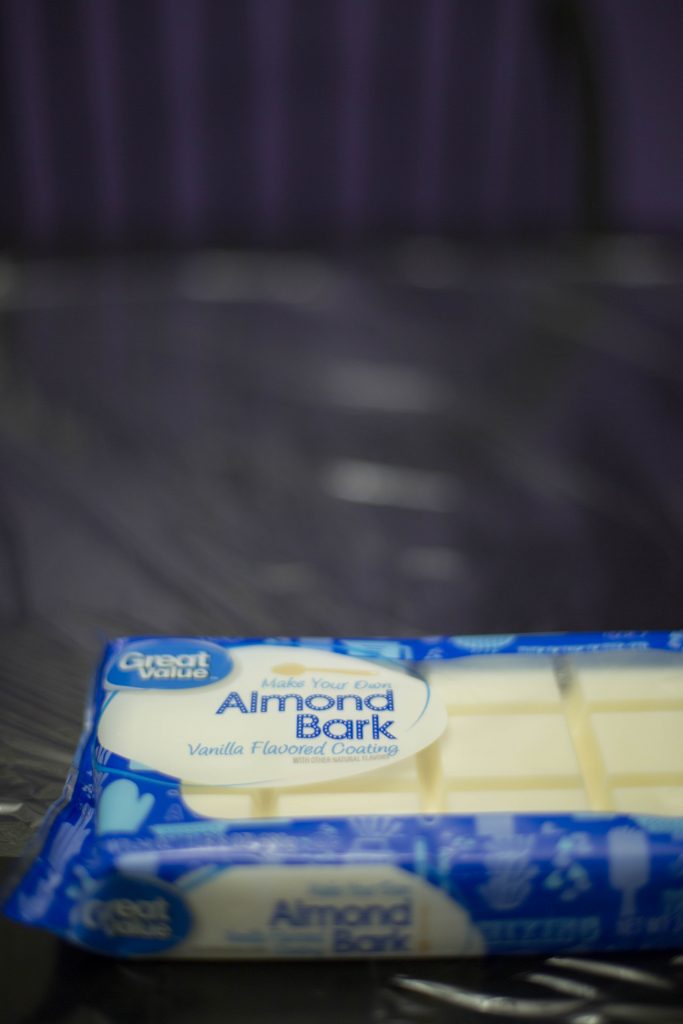
- Next is melting the chocolate. Its technically called Almond bark – vanilla, but its basically white chocolate. To my knowledge, it doesn’t actually contain almonds, but if you have a nut allergy I would look further into that before using this.
- In my experience with doing a double batch, you will ALMOST use this whole pack. I had two cubes left over from the batch you see above.
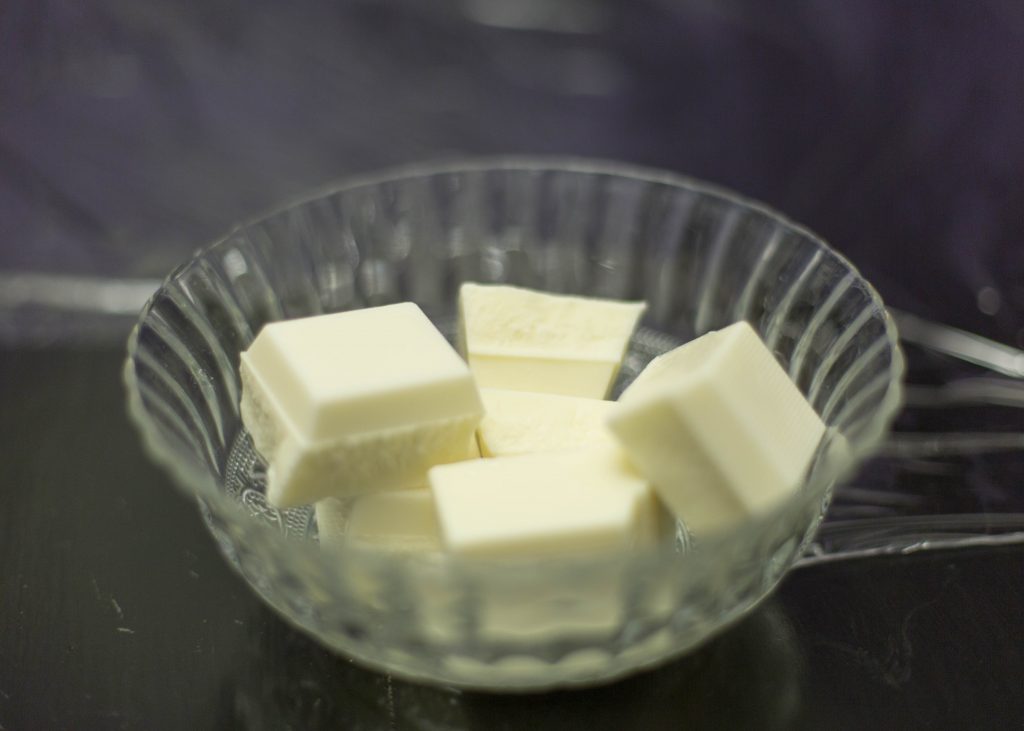
- To start I microwave six cubes at a time in a glass bowl. FOLLOW THE INSTRUCTIONS! Burning this will ruin the whole thing and make the oreo balls takes weird. I typically put it on for one minute then check it every 15 seconds until it starts getting soft then I check every 10 seconds actively trying to stir with a fork. (I never melt it via stove top so I have no advice on that matter)
- So once its all melted use a fork and make sure it’s creaming with no lumps left then you’re ready for step 4!
STEP 4. The Roll
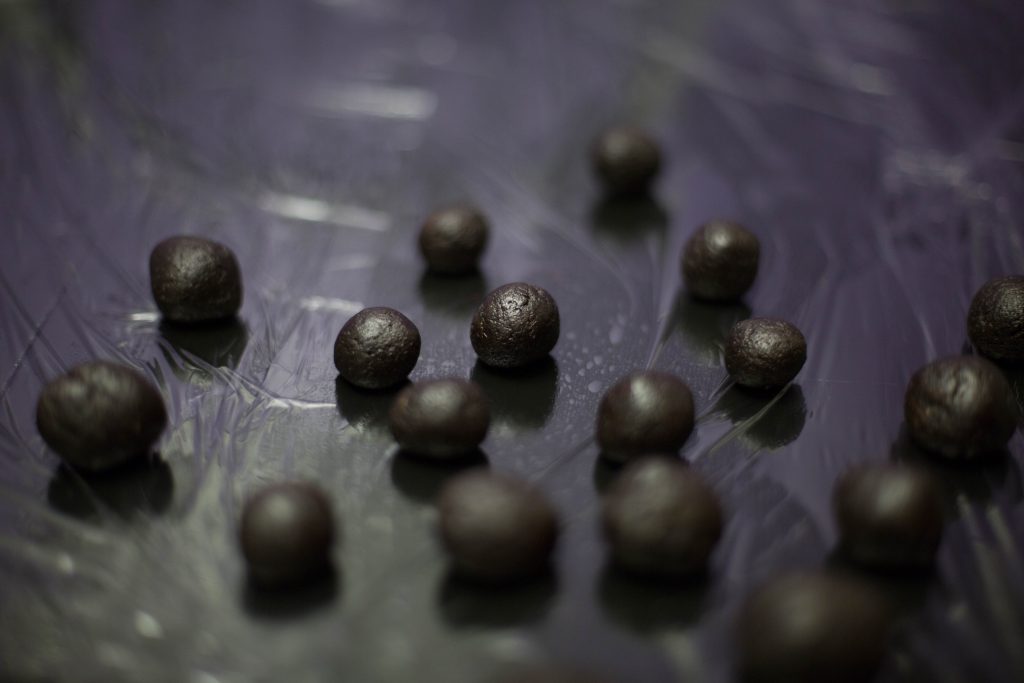
- To prepare your area where you will be laying your oreo balls once coated with chocolate. Put saran wrap or cling wrap-whatever it’s officially called – on your table….that’s all.
- In a perfect world, if you have a helping hand, or if you just have plenty of time – rolling the dough into balls before you melt the chocolate will make the process more smooth. However, if you’re like me ‘you ain’t got time for that’ so I typically roll the balls as I go.
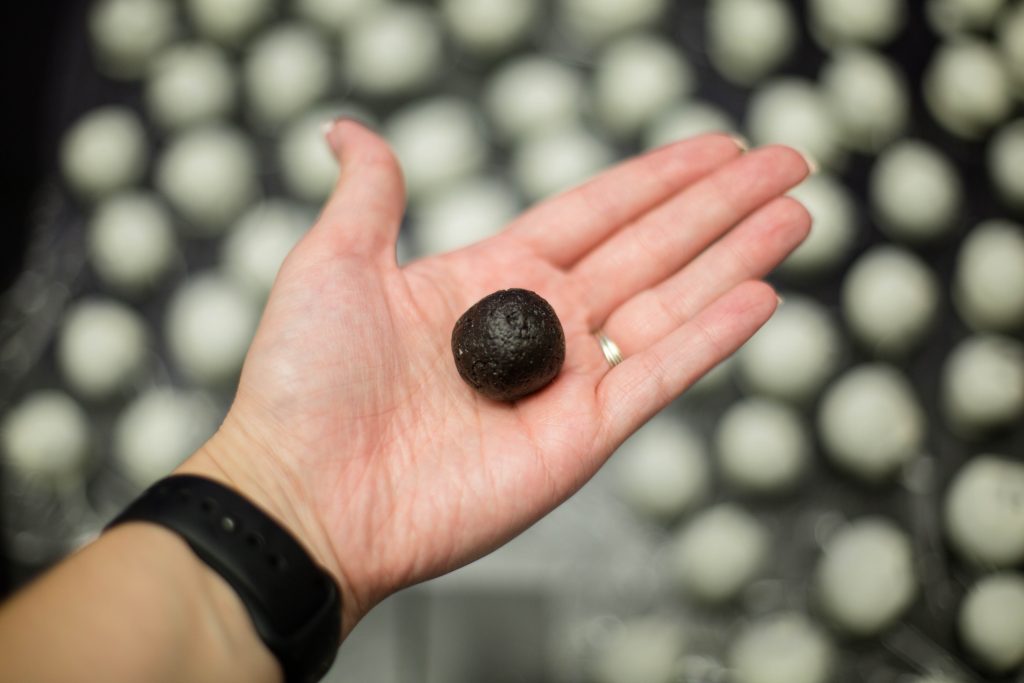
- The best way I could describe the size to roll is a little bigger than a bouncy ball maybe even walnut size. When you add the chocolate it will make the ball bigger, and in my experience oreo balls are the best when you can just pop the whole thing in your mouth at one time! Doing them on the smaller size will also produce more oreo balls.
- I find it best to roll them around using both hands to form a close to perfect ball. This makes the dipping easier and final product prettier.
STEP 5. The Dip
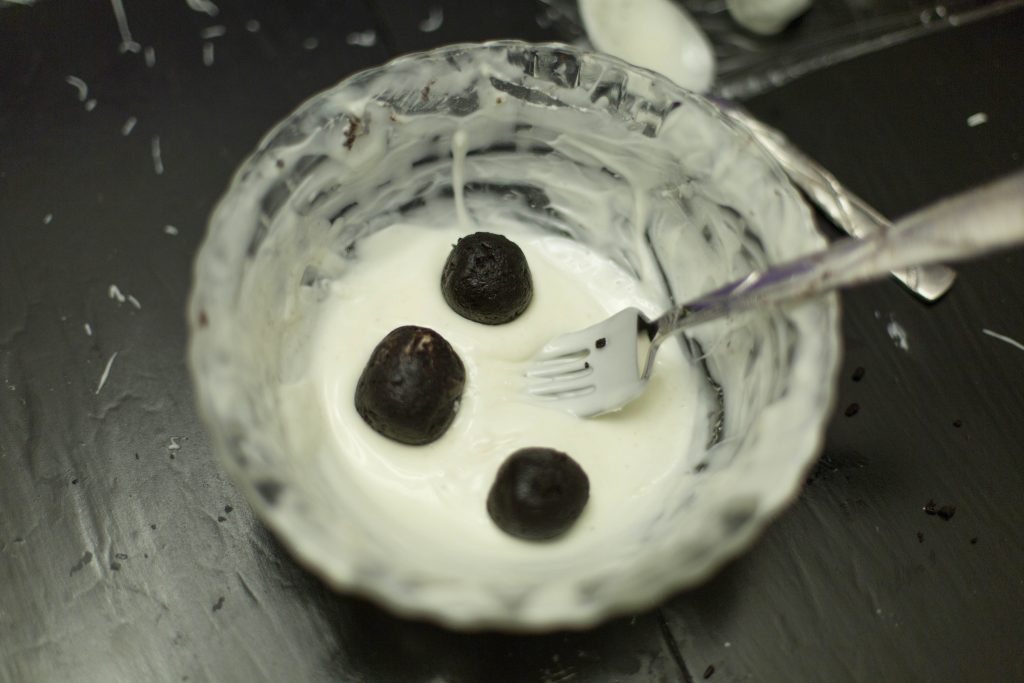
- Now you will have your chocolate melted and ready, a few dough balls already rolled, and the area cleaned and lined ready to place them.
- I make and drop about three balls into the almond bark at one time. I then take my fork and move one ball at a time around in the chocolate until its fully coated.
- Once coated I drag the bottom of the fork against the edge of the bowl to retain any excess chocolate and plop the oreo ball onto my area. Not too hard… don’t sling it. That will make a huge mess!
- REPEAT 70-100 TIMES. This part definitely takes the longest out of everything we’ve done so far, but it will pay off.
- Let them cool for 30 minutes to an hour then refrigerate until your event.
_____________________________________________________________________________________________________________
STEP 6. The Finale
So now your arm is probably getting sore and tired, and you may or may not have ANY desire to eat these right now and just sick of looking at them, BUT you’re DONE!
You’ve successfully made delicious oreo balls, and whoever you’ve made these for will probably love you.
EXTRAS.
Get creative if you’re making these for or around a holiday its fun to add food coloring to the Almond bark! Green for St Patrick’s day, orange for Halloween, pink for breast cancer awareness month or valentines day. If you’re REALLY feeling extra you can portion out multiple bowls of Almond bark and make each a different color like red, white, and blue for Memorial day or 4th of July.
LAST BUT NOT LEAST.
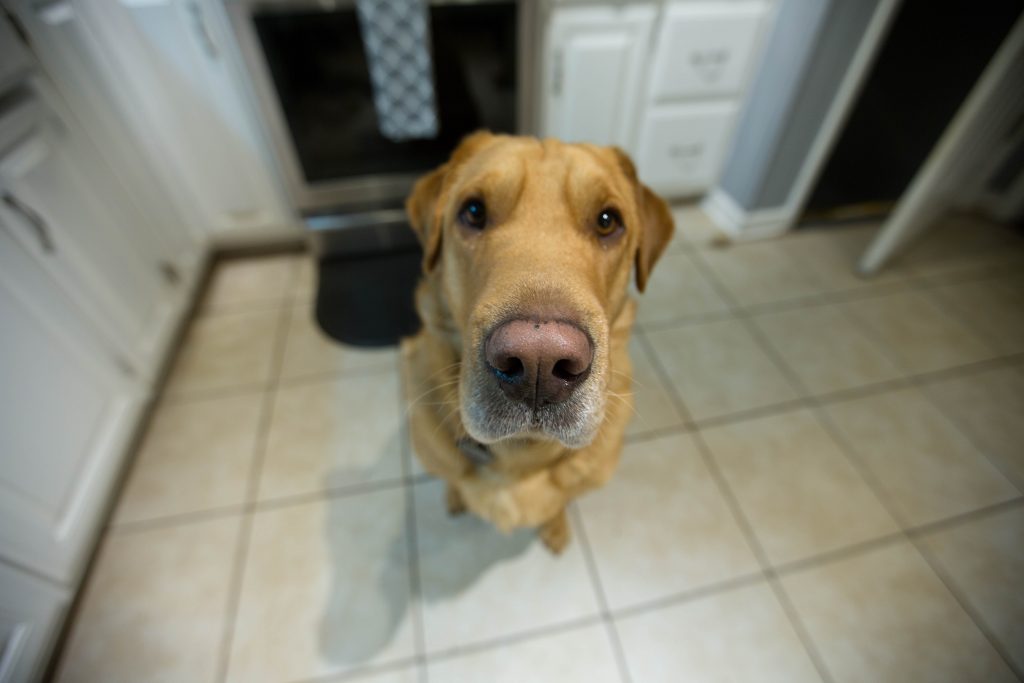

If you’re like me and have pups around your feet through most of this process.
- Make sure you clean your work area VERY good before you start! No one wants animal hair in their oreo balls!
- Also, the process can get pretty messy. If you drop chocolate to make sure to immediately clean it up so these babies don’t quickly clean it up for you ya know being super helpful and all.
THANKS FOR READING – Matti